How To Install & setup Python 3.8 Version on Windows 10
1- Installing Python from Python.org
Go on Python.org at the section where you can download the windows executables:
https://www.python.org/downloads/windows/
Go down in the page and download the following executable (if your computer is 64 bits):
Windows x86-64 executable installer

Double click on the executable and install it
2- Add Python 3 to the windows 10 environment variable path
I will suppose that you didn’t check the “add python to the path” checkbox when you installed it.
Let’s see now how to add this new python 3 version to the path
By default, it installs in the path:
C:\Users\cypri\AppData\Local\Programs\Python(cypri will be replaced by your windows user name of course…)
This is not convenient, because AppData is a hidden folder and it may cause problems with some python modules such as jupyter if you leave it here
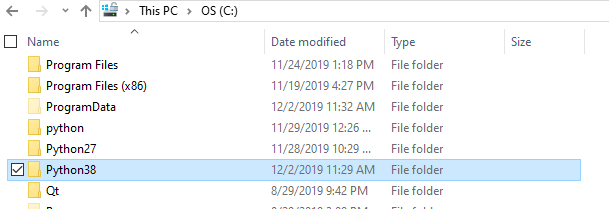
The move is to C:/
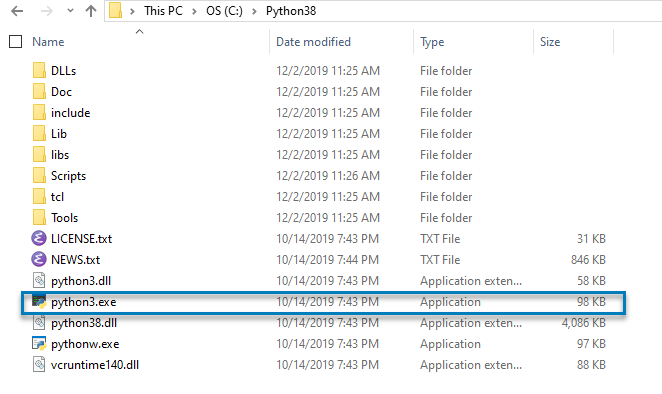
Change the name of the executable to python3.exe for convenience
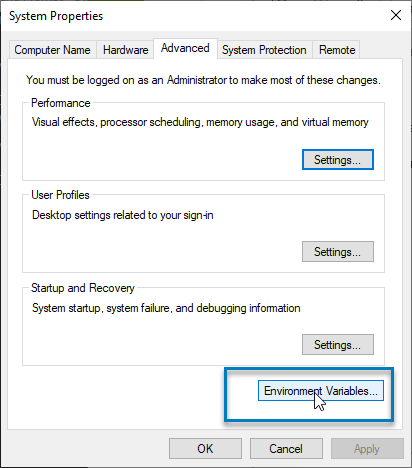
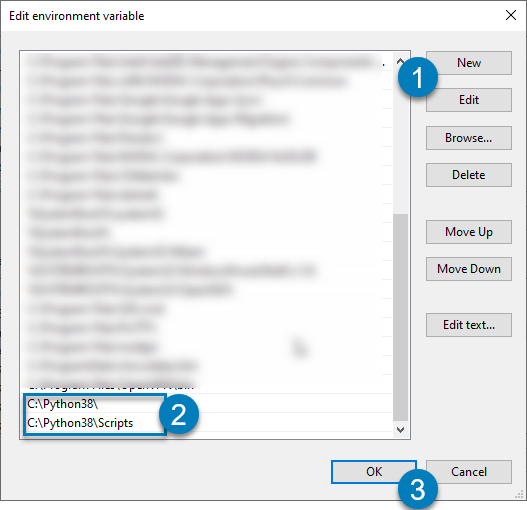
Let’s now edit the environment variables to add this new python 3 to the path:

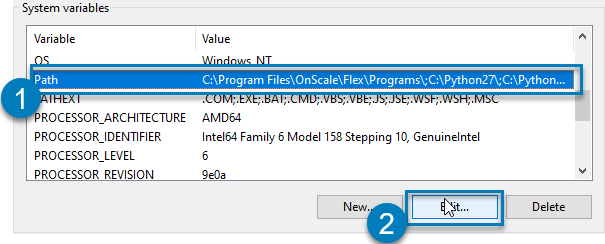
Add the 2 new variables as follow:
- C:\Python38\
- C:\Python38\Scripts
then click on OK
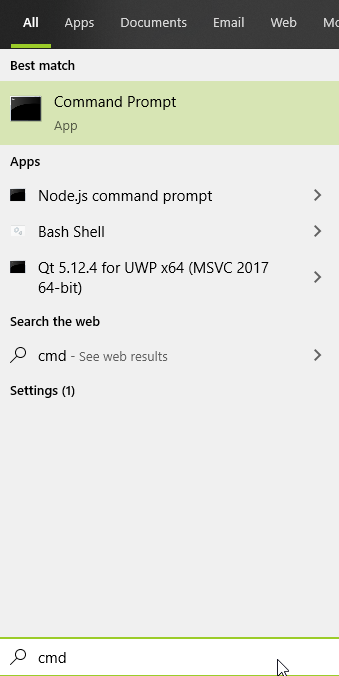
Now open the command prompt:
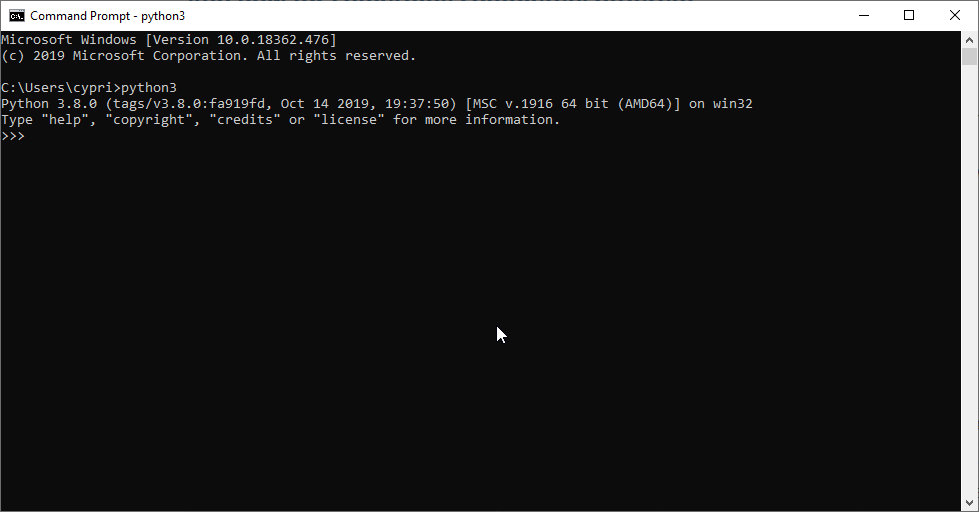
When you type “python3” in the cmd, you should see the Python 3 interpreter opening:
3- Upgrade pip to be able to install Python modules
If you try to run pip3 for this new python install, you will run into the following problem:
“Fatal error in launcher: Unable to create process …”
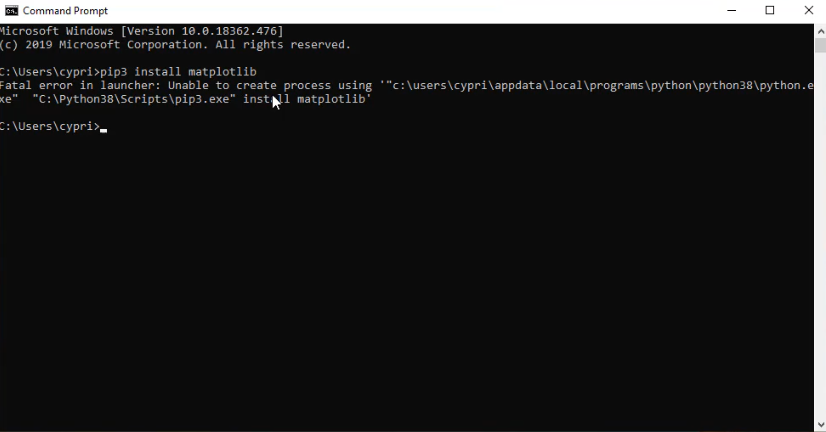
To correct that, enter:
python3 -m install --upgrade pipYour pip will then be upgraded and you will become able to install again python modules

That’s all!
Note: Same Procedure to All New version (python3.9, Etc) or Old version (Python3.7, etc)
If you have questions, just leave a comment on the blog post!
I hope it was useful for you
Comments
Post a Comment